Wanting to learn how to make the best homemade yogurt? This recipe is foolproof, and will become a staple in your refrigerator and your gut!
Have you noticed how the dairy aisles in almost all grocery stores have been fully occupied by different brands of yogurt? I even find it hard sometimes to look for the traditional dairy foods like kefir and ricotta in the sea of yogurt choices.
This makes sense since yogurt comes with several health benefits. In fact, serious health conscious individuals, and those fighting chronic illness and leaky gut, are starting to learn how to make homemade yogurt to make sure that they have this dairy product available at home.
So what exactly are the health benefits of this delicious snack?
Health Benefits of Homemade Yogurt
- It can give you flat abs! Yogurt is one of the top foods that help shed pounds. Eating yogurt can send signals to your fat cells to produce less cortisol which yields fat around your waist.
- It is loaded with vitamins. One serving of yogurt can be a great source of protein, phosphorus, zinc, potassium and so much more. It is even loaded with vitamin B12 that keeps our nervous system functioning well.
- It can strengthen your immune system. This is because yogurt contains natural boosting properties and probiotics that have been shown to minimize inflammation which is the leading cause of viral infections. Yogurt can also prevent common cold and flu due to its Vitamin D content.
- It can be an aid to digestion. If you’re having some problem with digestion lately, you might want to opt for yogurt on your next desert to get rid of the toxins in your stomach. The probiotics in yogurt can help you digest other food product as well as promote regular digestion.
Can it be made in the Instant Pot?
Yes! That’s actually my favorite way to make this recipe, and it’s so simple:
- Put your milk into the inner stainless steel container. I use local raw milk, but use the highest quality milk that you can find.
- Put the lid on the Instant Pot (valve position doesn’t matter, it won’t be pressurizing), press the “Yogurt” button, and then “adjust” until the display reads BOIL.
- It will then begin heating up the milk to 180 degrees F. Leave the Instant Pot until it beeps and has reached the right temperature.
- Once it beeps and it’s hot, you’ll need to remove the inner container from the Instant Pot and begin to let the milk cool to between 100 and 115 degrees F. I use this type of thermometer and leave it in the milk so I can get a read of the temperature easily. This will probably take an hour or more, depending on how much milk you use.
- Once the milk has cooled to 110 degrees F or so, you can remove the thermometer. The milk has probably developed a “skin” on top of it, which is normal. Just remove this and throw it in the trash.
- Put the inner container back in the Instant Pot. This is when you will add your starter culture (1/2 cup of yogurt per 1/2 gallon of milk you use). Add it to the milk and whisk it thoroughly.
- Optionally, you can use this type of starter if you don’t have any existing yogurt to use.
- Put the lid back on the Instant Pot (again, valve position doesn’t matter) and press “Yogurt” again, and press “Adjust” until it says 24:00. You can stop it any time after 12 hours, but letting it sit for 24 hours makes much thicker yogurt!
- Once it reaches the 24 hour mark, scoop it into clean mason jars and store it in the refrigerator.
Notes From the Cook
- You can keep on whisking your homemade yogurt if you want it to be a more consistent creamy mixture. If you notice any liquid formation on the surface, you can also whisk it back into the yogurt.
- The Instant Pot automates a lot of this process, so if you don’t think you have the time to put into making yogurt, I highly recommend that you try it the Instant Pot way!
- It’s normal for the milk to develop a “skin” on top of it as it sits and cools… yes, it’s gross. No, it’s not ruined. Just leave it and you can toss it when it’s done cooling.
- Choosing to use raw milk will yield you a much more nutrient-dense yogurt, but will be less thick than the ultra-pasteurized milk you can get in stores. It’s still delicious though!
- The yogurt will often thicken to a cream-cheese consistency, with lumps. These stir out very easily, and are completely normal.
- You can use probiotics instead of a yogurt starter, but how much you need will depend on the probiotic. Starting with 4 capsules per 1/2 gallon of milk is a good place to start, and you can adjust for future batches.
- If the yogurt is still really liquidy after the 12-24 hour setting process, there’s a good chance that the probiotics were bad. (This happened to me once). Since the milk still smelled fresh (not spoiled), I just started the process over again and added a different probiotic when it was time. The yogurt turned out fine the second time around!
You may also like these recipes:
- Paleo Freezer Fudge
- Sugar Free No Bake Cookies
- Paleo Breakfast Pumpkin Cookies
- 7 Quick & Easy Paleo Breakfast Ideas

Easy Gut Healing Homemade Yogurt
Ingredients
- ½ gallon of milk
- ½ cup of probiotic-rich yogurt
Instructions
- Heat the milk. Pour the milk into the pot and set the stove to medium to medium-high heat. Gently stir the milk while you are heating it to prevent the bottom from scorching. Don't let the milk boil over, just warm it up to about 180-200 degrees Fahrenheit.
- Let the milk cool. Let it cool until it is warm to touch, about 105-115 degrees Farenheit.
- Add one cup of warm milk to the yogurt mixture, and mix thoroughly. Whisk the mixture until the yogurt will be fully dissolved in the milk and the mixture gets smooth.
- Pour the yogurt/milk mixture into the remaining milk. Keep on gently whisking the mixture.
- Cover the whole pot with the lid and place it in the oven. Turn your oven on and set it to about 110 degrees Fahrenheit, just enough to warm the milk.
- Let the yogurt set. Four hours would be enough to let your yogurt set, though you can also let it set overnight. This will depend on your desired consistency. The longer it sets, the thicker and more tart it will be; just keep on checking the yogurt every four hours.
Notes
- You can keep on whisking your homemade yogurt if you want it to be a more consistent creamy mixture. If you notice any liquid formation on the surface, you can also whisk it back into the yogurt.
- The Instant Pot automates a lot of this process, so if you don't think you have the time to put into making yogurt, I highly recommend that you try it the Instant Pot way!
- It's normal for the milk to develop a "skin" on top of it as it sits and cools... yes, it's gross. No, it's not ruined. Just leave it and you can toss it when it's done cooling.
- Choosing to use raw milk will yield you a much more nutrient-dense yogurt, but will be less thick than the ultra-pasteurized milk you can get in stores. It's still delicious though!
- The yogurt will often thicken to a cream-cheese consistency, with lumps. These stir out very easily, and are completely normal.
- You can use probiotics instead of a yogurt starter, but how much you need will depend on the probiotic. Starting with 4 capsules per 1/2 gallon of milk is a good place to start, and you can adjust for future batches.
- If the yogurt is still really liquidy after the 12-24 hour setting process, there's a good chance that the probiotics were bad. (This happened to me once). Since the milk still smelled fresh (not spoiled), I just started the process over again and added a different probiotic when it was time. The yogurt turned out fine the second time around!
Nutrition
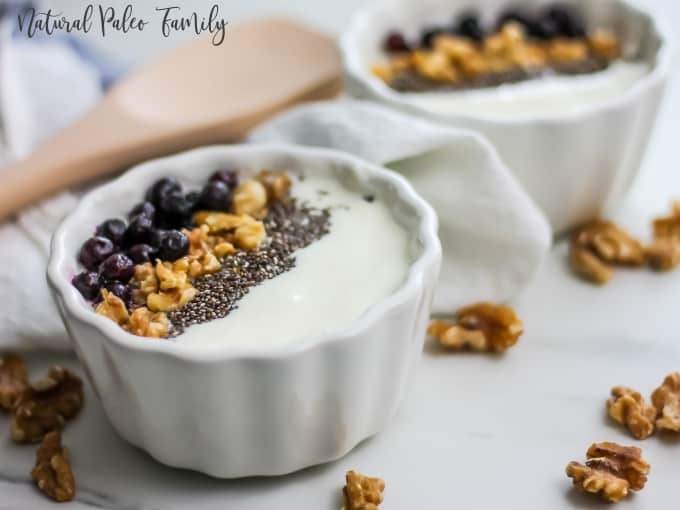
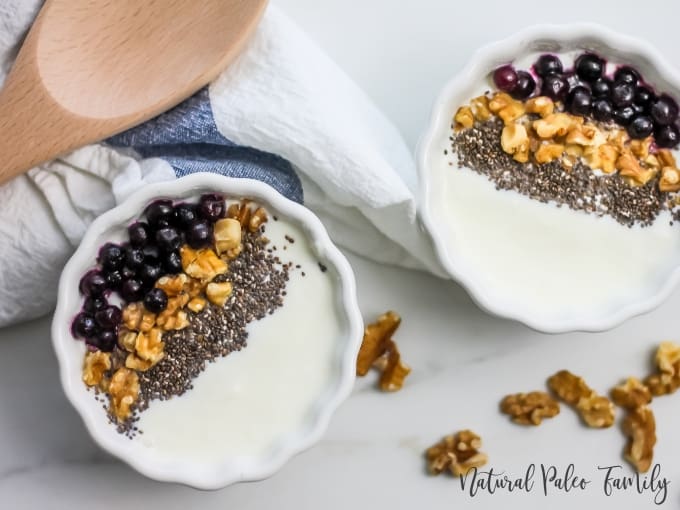
Now, you’re ready to transfer it to containers or serve it for breakfast; don’t forget to add healthy toppings. There are actually a lot of delicious ways to enjoy yogurt.
Homemade yogurt is much less expensive and more often a lot better. Now I am sure that are no chemicals added to my food such as artificial colors, sweeteners or preservatives making yogurt junk food in disguise.
What are your favorite toppings for homemade yogurt?
Update Notes:
This recipe was originally posted in June 2017. It was updated in February 2019 with new photos and instructions.
I’ve been meaning to eat more yogurt so initially I was drawn to this recipe and making it is a lot more simpler than I thought it would be! Definitely going to try this out, thanks! -bsrealtalk.com
This sounds so delicious! I’d be tempted to do it if I weren’t moving. But when I get moved, boy, does this sound good! I’ll need a healthy snack, and yogurt is the perfect choice!
Isn’t it so much easier than you think? And with an Instant Pot, they actually have a “yogurt” button. Trying that one next! 😉
Out of curiosity, what is a yogurt button?
The Instant Pot has a button for easy yogurt-making!
Cool!
Does this work with coconut milk? I haven’t reintroduced cows milk yet.
This will not work with coconut milk. That’s a whole different recipe, with collagen and gelatin needed to make it solid.
Can it be sweetened with sweetened condensed milk?
After the yogurt is done, you can try to sweeten it with whatever you want! I prefer honey and fruit, but if you want sweetened condensed milk, you are free to try it!